Thursday, April 15, 2021

Some Notes About SWAPS


SWAPS of all types!

While handicrafts are the common way to accumulate SWAPS, it is perfectly acceptable to also display buttons, large beads, or turn other small inexpensive trinkets into SWAPS.
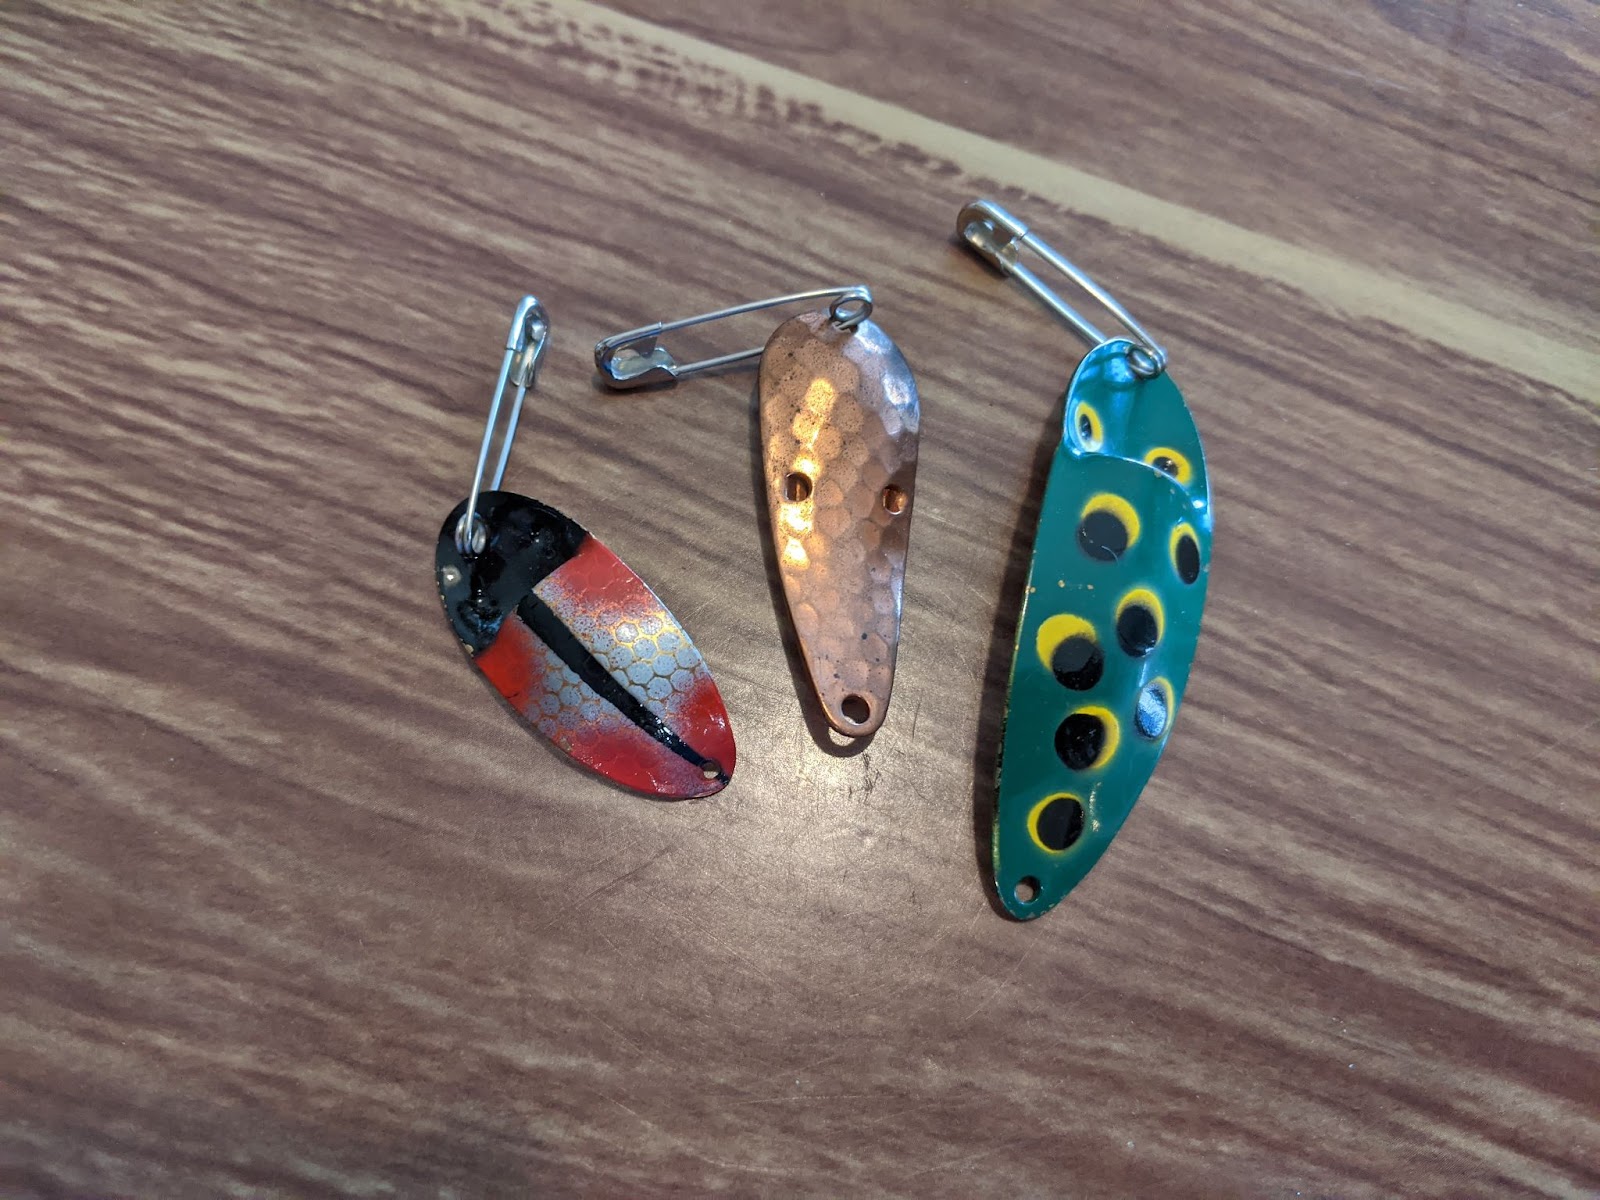
You can also easily add some sparkle, stickers, or paint to items like fishing lures or bottle caps for unique, simple SWAPS. It is always ideal to keep SWAPS inexpensive.

Do remember to avoid anything too sharp or any breakable materials like glass when crafting or putting together your SWAPS! Also, be mindful of size. Anything too heavy or big to easily wear as a pin may need to be reconsidered. SWAPS should be safe and easily portable.
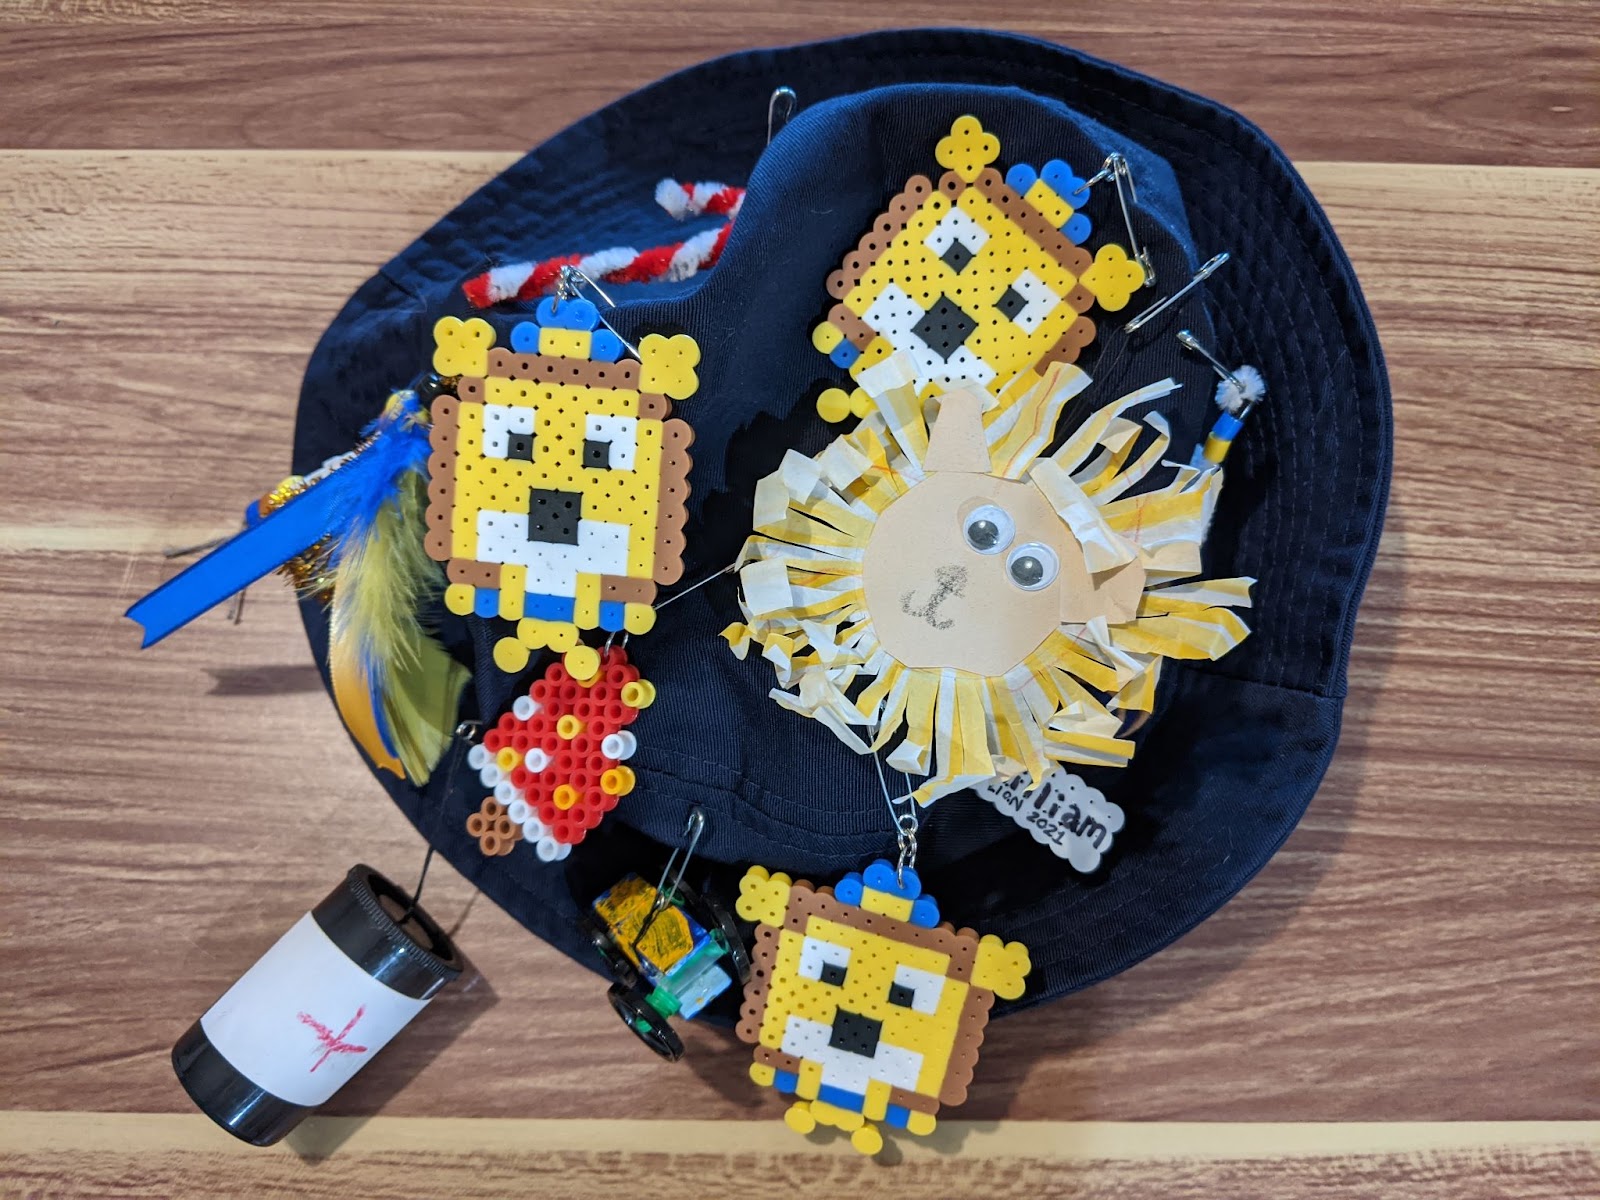
Another great practice for SWAPS is to make multiples or copies of handicrafts you enjoy.
For my son, he loves turning perler (fuse beads) designs into SWAPS and will sometimes make copies of a design he especially likes, making them particularly tradable since he has a few!
This can also be something to be mindful of when trading SWAPS, in that, you may be able to replace SWAPS you made and traded away with new ones! 

Pinterest or Google Searches can be a great place to find ideas, you can search things like “smaller perler bead patterns” or “scout swaps” or “mini crafts” for all sorts of inspiration!


SWAPS: Keepers vs Tradables?

While the idea behind SWAPS can be a something to “Shared With A Pal” or “Special Whatchamacallits Affectionately Pinned Somewhere” or even just tokens of friendship to SWAP with a friend, it is very understandable that Scouts will make or receive some they wish to keep.

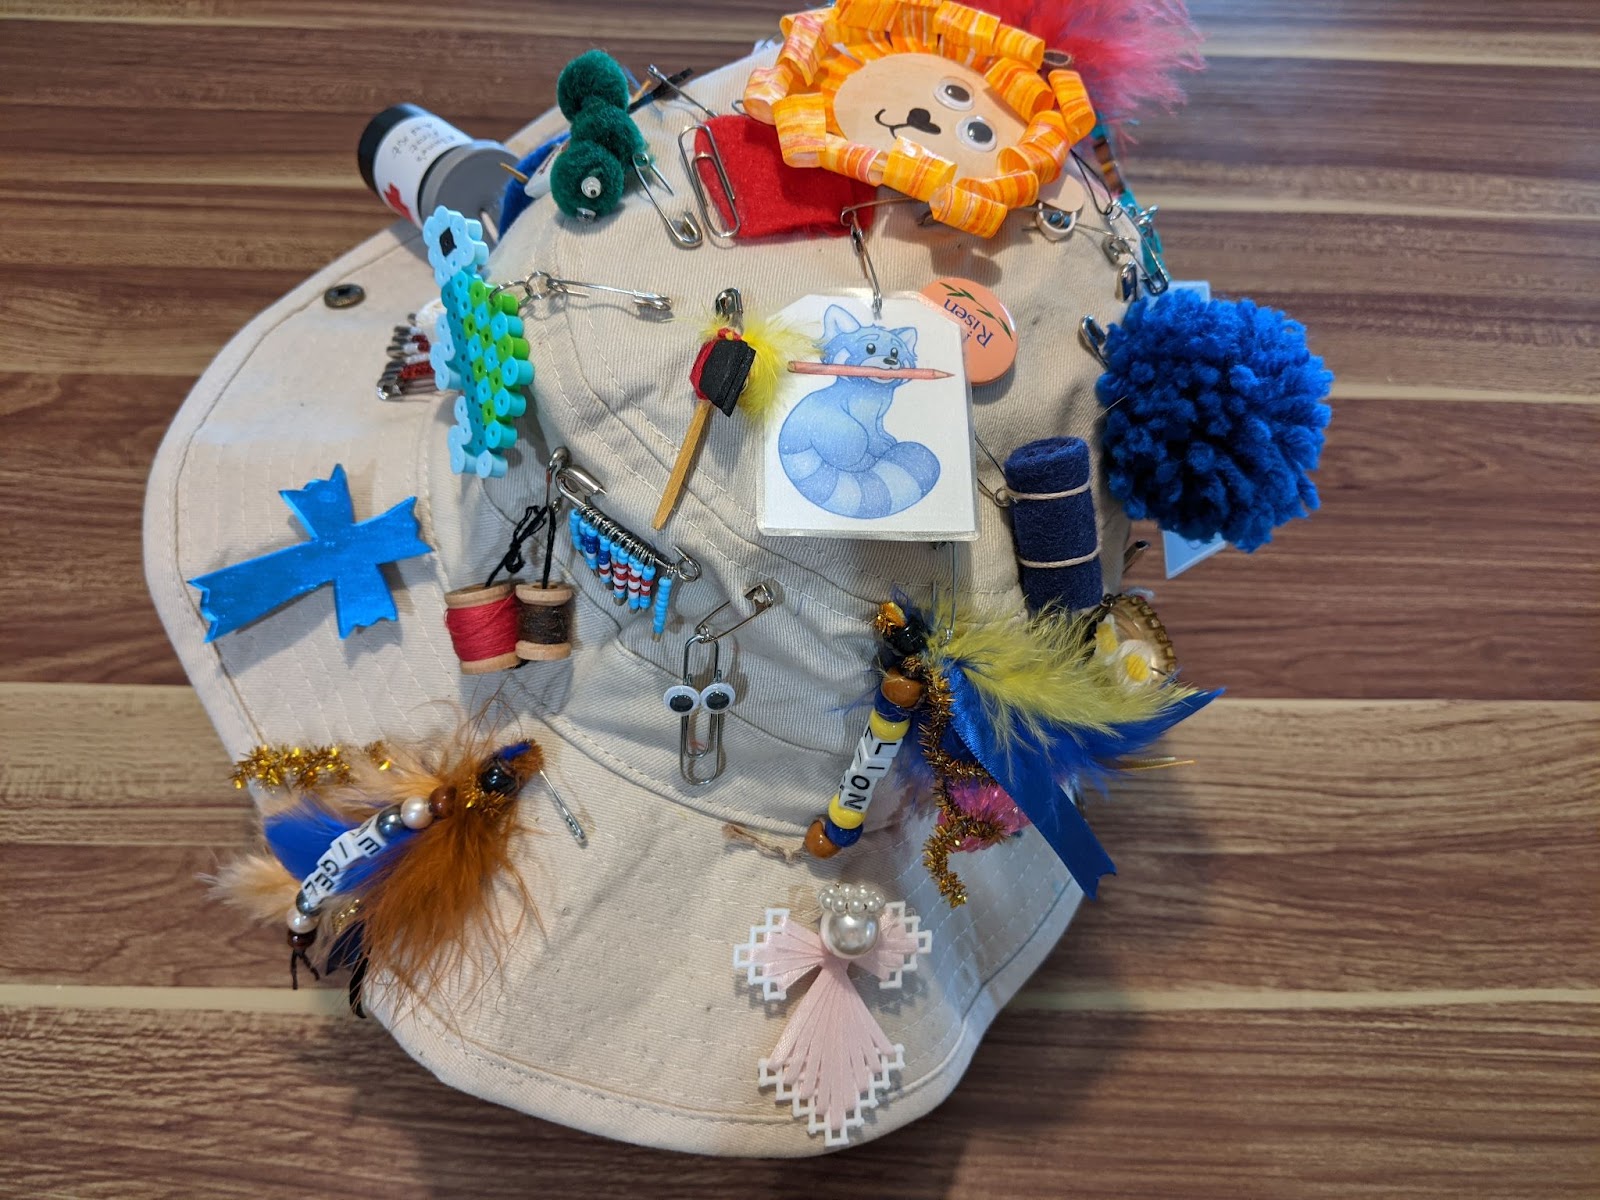
In the spirit of encouraging displaying both keepers and swappers, as it were, I recommend having specific zones for each type, should you have some of both on your hat, bag, vest, lanyard, or wherever you wear your SWAPS!

For example: I wear my SWAPS on a bucket hat. I put my keepers (usually these have sentimental value to me) on the brim of my bucket hat and place all my potential swappable SWAPS on the band or crown areas of the hat!

For you, depending how you display your SWAPS, this may mean having each type on a different strap or side. Something easily able to explain to a friend.

Also, some scouts prefer to only wear/display your keeper SWAPS and carry tradable SWAPS in a bag or box entirely separately. Whatever works for you!

Remember to explain and/or ask before an exchange of SWAPS so you know which SWAPS you and your friend can trade! And speaking of trading:

Code of Conduct for SWAPS Exchange
(AKA Good Social Etiquette Skills to Practice!)

  • If you have Keepers as well as Swappers, be kind when explaining which you are willing to trade. You shouldn't refuse an offer to trade if you have SWAPS available to trade.

  • Use the Golden Rule and treat the others like you would want to be treated. Trading should be a fun experience for both members of the SWAPS exchange.

  • Say a heartfelt “thank you” when you receive SWAPS.

  • Never say anything negative about SWAPS you receive.

  • When passing SWAPS, make sure the pins are closed so that no one gets stuck.

  • Don’t pin your SWAPS onto another person. Allow them or their adult partner to do that.

  • Remember SWAPS are intended to change hands! Someone who receives your SWAPS may end up trading them to someone else and vice versa!

  • If you see someone with few pins or nothing to trade, remember that you can always offer to simply give them a SWAPS. An Act of Kindness is always welcome!

Couple Last Tips on Exchanges!

If you are going to an event that you know will have SWAPS exchanging or you would like to pass out SWAPS while you are there, plan ahead! You can do your best to make sure you have time to have one for every participant (and staff member, if applicable).

SWAPS also do not have to be exchanged in person! If you have a pen pal or even just want to mail a friend a SWAPS or two, go for it!

Thursday, April 1, 2021

Cupcake Liner Lion Face SWAPS


Cupcake Liner Lion Face SWAPS Instructions:

Materials: cupcake liner, construction paper (tan or yellow tint/shade), 2 googly eyes, string (~6-8"), safety pin
Also needed: pencil/pen/markers and/or crayons, glue, scissors

  1. Trace two circles of ~5 cm diameter on the construction paper for the front and back of the lion head. 
  2. Cut out the circles, and cut out ears of the desired shape from the remaining paper.
  3. Glue on the googly eyes to one of the circles that will be the lion face (I like to use the untraced side of the paper for the face).
  4. Draw the rest of the face of your lion on the circle with the googly eyes. 
  5. Color your cupcake liner with shades of yellow, orange, and/or gold for the lion's mane (or use a colored cupcake liner of the desired color).
  6. Cut slits into the cupcake liner, going to the circle center fold intended for the base of the cupcake. 
  7. If desired, curl the strips of paper made from your slits either by hand or around a pen, pencil, or marker to form curls.
  8. Glue the face onto one side of your cupcake liner center (if you curl your mane, have the face on the side with curls).
  9. Glue ears onto your lion face in the desired location.
  10. String the safety pin through the thread and tie the ends to make a loop. Trim excess thread as needed.
  11. Glue the knot on the circle that will be the back of the head. 
  12. Glue the back of the head so the knot of the string is sandwiched between the back of the cupcake liner and the back of the head.


This craft is grrrrr-eat for Lions! It can truly fit in anywhere during the year.
Additionally, I know at least one Adventure where it can be a great tie-in craft!

Recommended Adventure Tie-In:

Lion = Rumble in the Jungle (focus on animals)

Wednesday, March 24, 2021

Bubble Wand SWAPS


Bubble Wand SWAPS Instructions:

Materials: 4-inch pipe cleaner, 5 Perler (AKA fuse beads or iron beads) beads, a safety pin

  1. Make a loop with roughly ⅔ of the pipe cleaner and twist it around the handle, making a bubble wand shape.
  2. Slide the Perler beads onto the pipe cleaner, ideally covering the joining twist of the pipe cleaner with at least one bead. You will need extra pipe cleaner on the end to bend over the safety pin, so if you need to use less than the five beads suggested to have enough pipe cleaner to bend, do not worry! 
  3. Slide the loop of the safety pin through the pipe cleaner. 
  4. Bend the last bit of pipe cleaner back and twist enough to keep the safety pin in place.


This SWAPS ties in nicely with bubble activities with your Den or Pack as the wand can actually be used to make small bubbles!

Additionally, I know at least one Adventure where it can be a great tie-in craft!


Recommended Adventure Tie-In:

Lion = Build It Up, Knock It Down Adventure (Outing Bubble Play)

Perler Lion Scout SWAPS


Perler Lion Scout SWAPS Instructions:
(Perler Beads AKA Iron Beads or Fuse Beads)

Materials: Perler Pegboard (at least 10 x 14), Perler Beads (6 black, 8 blue, 18 white, 24 brown, 52 yellow), jewelry/wire loops (2-3 or as desired), safety pin
Also needed: Glue Gun, equipment/materials to iron Perler Beads

  1. Follow the pattern below to create your Lion Scout.
  2. Follow instructions/method for your Perler/Fuse Beads to iron your Lion Scout. (This step may require adult or adult assistance as needed)
  3. Use a glue gun to reinforce the diagonals that can read either as neckerchief tails or legs (glue can be faintly seen in the sample image above).
  4. Use jewelry loops to attach the safety pin to the finished Lion Scout. I used a jump ring to puncture and loop through one of the top melted beads, then used a smaller split ring to attach the safety pin to the jump ring.


((Note: Pattern from a design found on Pinterest))

Note that, as in the sample picture, it is very easy to make little variations on this design to be unique.

Perler designs are probably something I will come back to, and they are an excellent option for a scout to make many copies of a favorite design (either from a pattern or a unique design) that can be perfect for trading!

Clothespin Car SWAPS


Clothespin Car SWAPS Instructions:

Materials: (mini) wooden clothespin, 2 twist ties, 4 matching buttons, 2 pieces of drinking straw (1/2” for mini clothespin), thread (~4”), safety pin
Also needed: scissors, glue or glue gun, and paint/decorations

  1. Paint and decorate clothespin as desired. Allow to dry.
  2. Insert one of the twist ties into a hole in one button from back to front. Thread about an inch or so through a second hole and back to the other side of the button. Twist the two pieces at the back of the button tightly. Thread one of the straw pieces onto the twist tie. Thread the open end of the twist tie through a hole in the second button, then thread it back through the second hole and twist together like you did before. Trim any excess twist tie as needed. Repeat this process for the remaining pair of buttons.
  3. Thread the string through the hole in the safety pin and thread through the spring of the clothespin. Tie the safety pin to the side of your car. Trim extra string as needed.
  4. Open the clothespin and place the straw from one set of wheels in the hole of the clothespin opening. Close the clothespin. Hopefully, the clothespin will not completely flatten the straw and the twist tie should be able to turn freely inside the straw.
  5. Add a dab of white glue to the back of the clothespin near the spring. Insert the second set of wheels into the handle end of the clothespin and push it toward the spring into the glue. Allow to dry.
  6. Decorate finishing touches, such as coloring over showing twist ties, as desired.

Colors of scouting/rank, along with details such as troop number or Den number, can tie in well with this craft. You can also consider stickers, decoupage, or other decoration materials.


This SWAPS ties in wonderfully with the annual tradition of the Pinewood Derby!
For young scouts, this one may be tricky and require the assistance of an adult partner, but the results are very popular.

Additionally, I know at least one Adventure where it can be a great tie-in craft!

Recommended Adventure Tie-In:

Lion = On My Mark Adventure

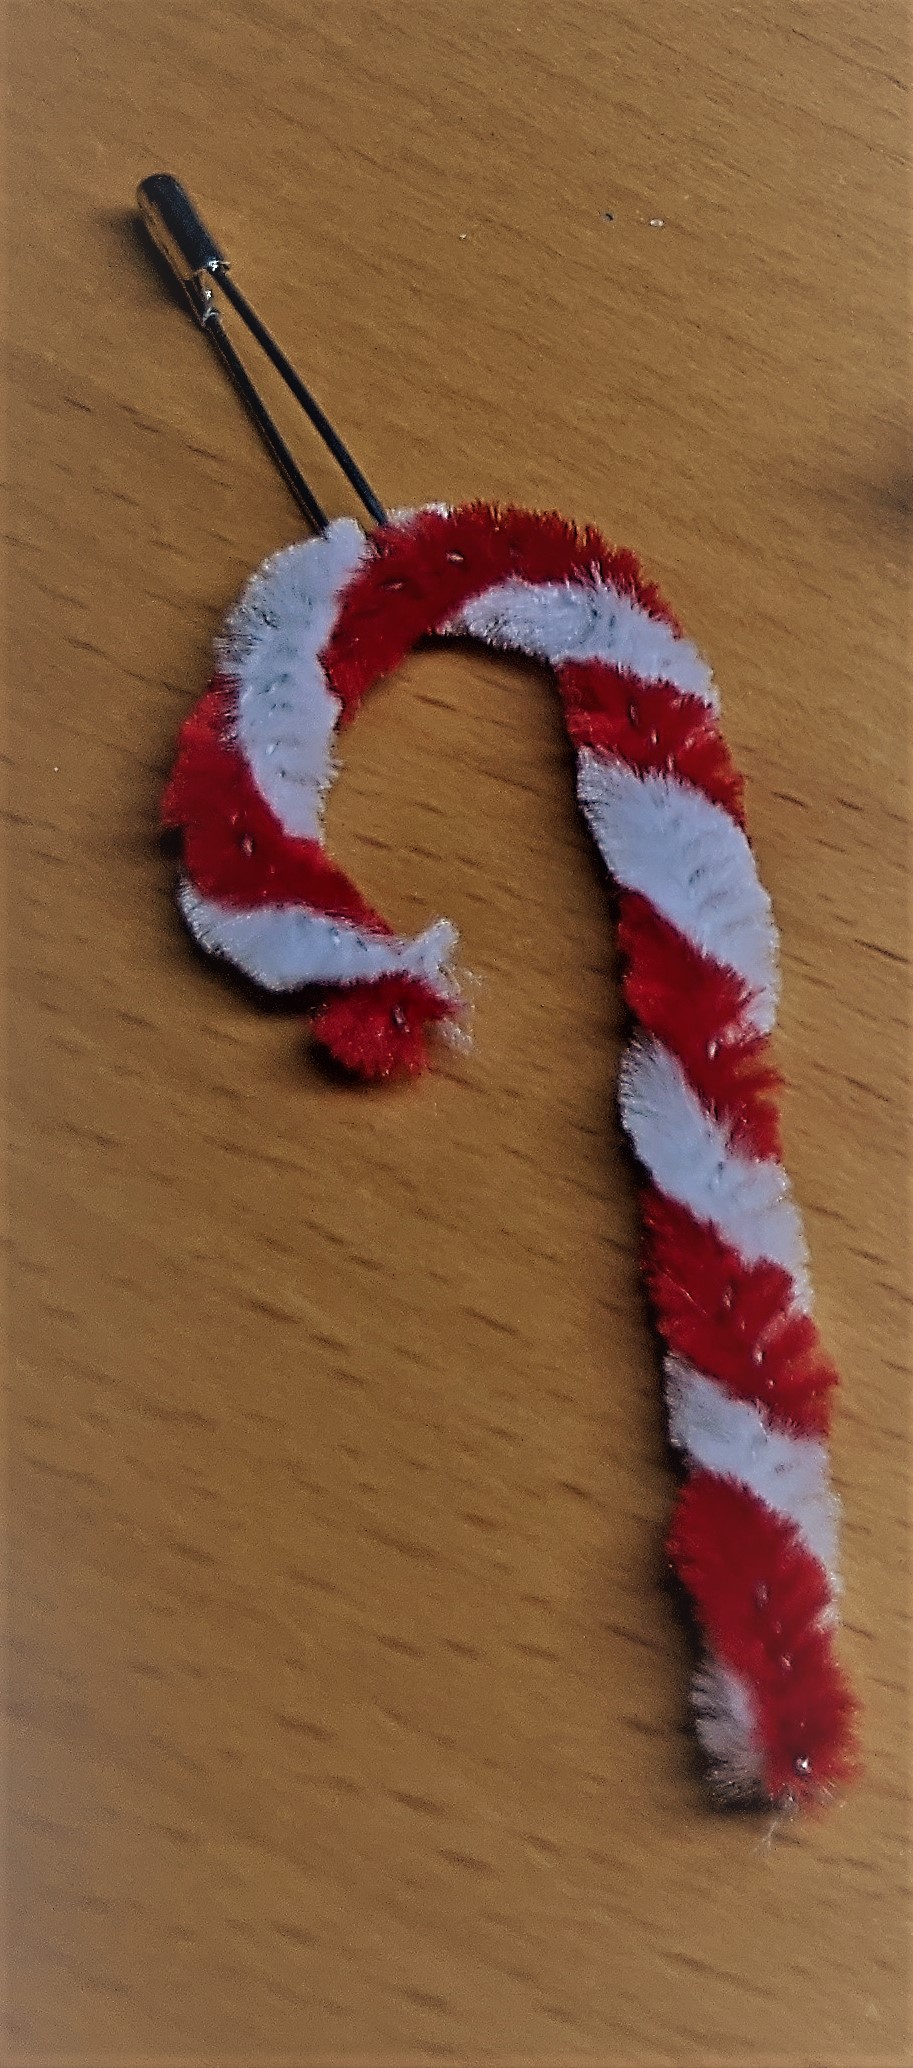
Candy Cane SWAPS


Candy Cane SWAPS Instructions:

Materials: One red and one white pipe cleaner each 4", a safety pin

  1. Begin to twist red and white pipe cleaner together. 
  2. Thread the safety pin onto one of the pipe cleaners after two twists and twist the rest of the length of the pipe cleaners together. 
  3. When done, you should be able to form a mini candy cane shape, with a safety pin near the top of the candy cane crook. 


An excellent craft to make around Christmas time!

Name and Feather SWAPS


Name and Feather SWAPS Instructions:

Materials: Alphabet beads spelling name, 6" sparkly pipe cleaner,  2 feathers, 2 ribbons 4" long, pony beads (1 black or brown, 6 colored), 24" hemp cord, a safety pin

  1. Lay down two feathers on top of each other, lay ribbon (if pointed side on the ribbon, face point toward quill tip), and lay pipe cleaner on top with all items lined up at the end of the quill. 
  2. Hold your stack tight and (quill side) push everything through the black pony bead.
  3. Thread the safety pin through your hemp cord and tie it in the middle of the cord. Tie a second knot if desired.
  4. Tie hemp cord around the bundle, right under the black pony bead. The safety pin should now be secured under the black bead.
  5. String three colored beads through both strands of hemp cord. String name on strands. String three more colored beads. On the last bead, loop cords around the bead and string again! 
  6. Tie a knot in cords.
  7. Twist or bend the pipe cleaner into a fun shape, spiral, or zigzag. 
  8. If desired, put glue inside the black pony bead to secure items.


This SWAPS is an excellent one to tie into Scouting/Rank color themes. For example, in my sample above, I used colors of gold/tan, blue, and yellow for Lions!